Video Tutorial
Instructions
A. Accessing Grade CenterA Blackboard Grade Center resembles a spreadsheet that was designed to be used as a grade book.
 1. You access grade center by scrolling to underneath the Course Management menu.
 2. Click on Grade Center, then Full Grade Center.
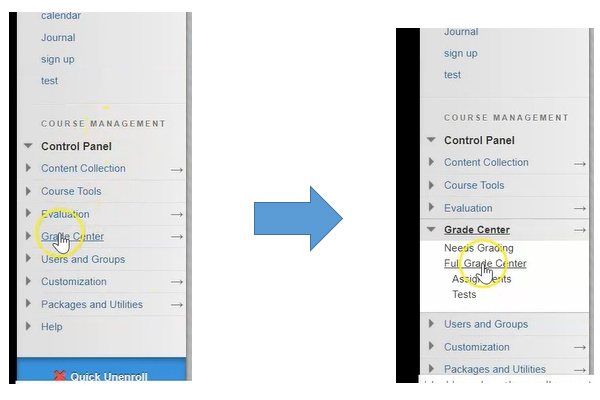
B. Setting Columns
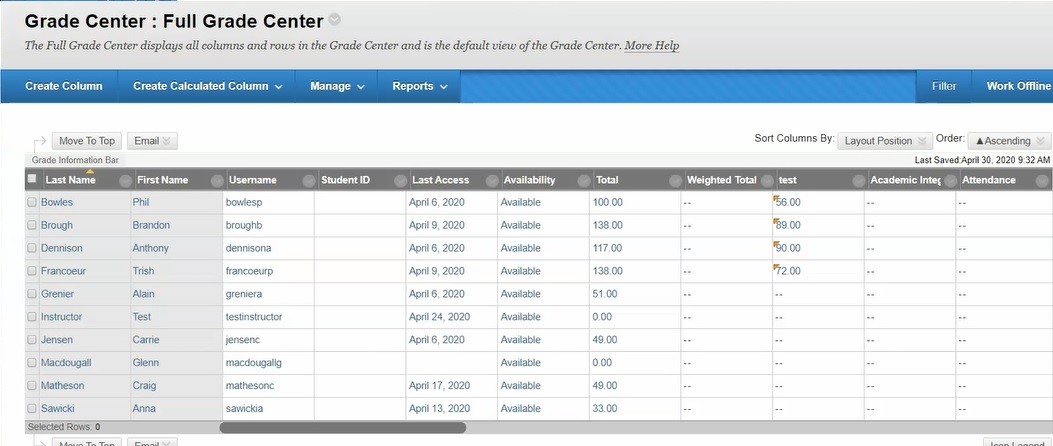
There are three different types of columns within Grade Center: user information columns, calculated columns, and graded columns.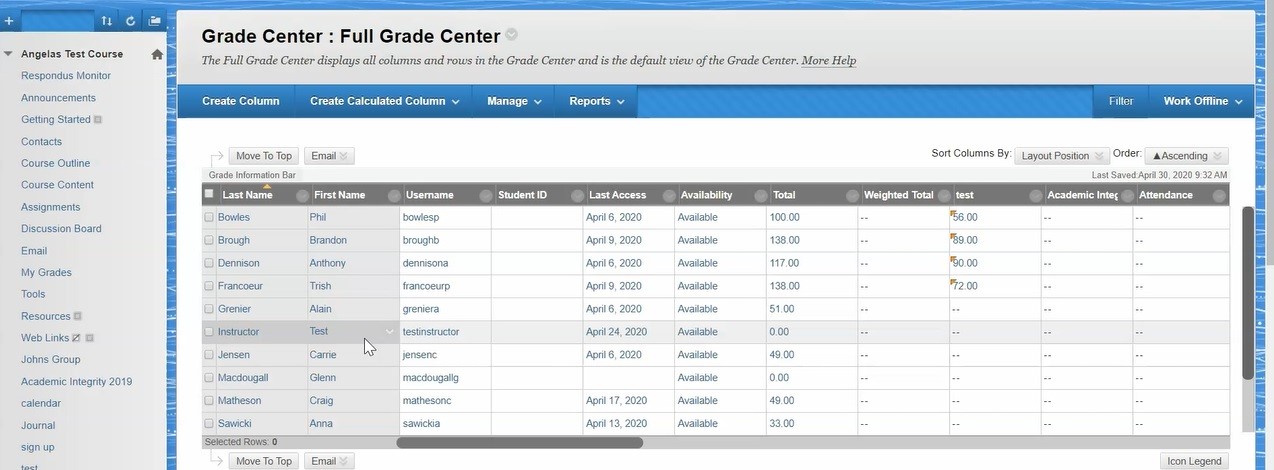
By default, your Blackboard course comes with eight columns.
1. Six user information columns: the students first names, last names, usernames, etc…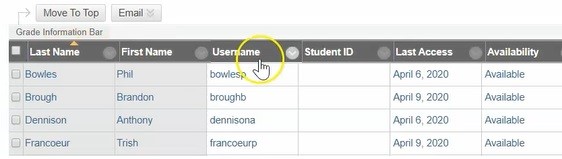 2. And two calculated columns: a Total column, and a Weighted Total column.
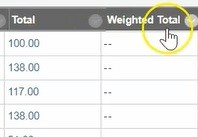 3. Grade columns are added when you create an assessment such as a test or an assignment, or you can create them manually.
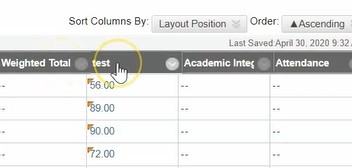 4. The rows in Grade Center represent each user that is enrolled in your course.
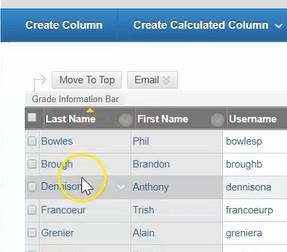 5. As you create tests and assignments and other assessment type activities within Blackboard, Blackboard automatically creates corresponding columns to those items.
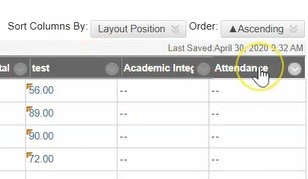 6. When you grade your students work, the mark that you provide to your student sits here within the column for that assessment
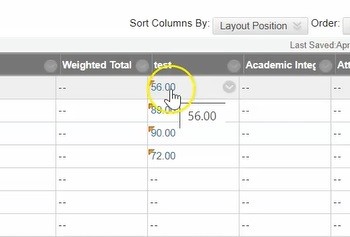
C. Customizing Columns
1. Columns within grade center are very customizable. If you click on the down arrow beside each heading you’ll see a list of options that you can use.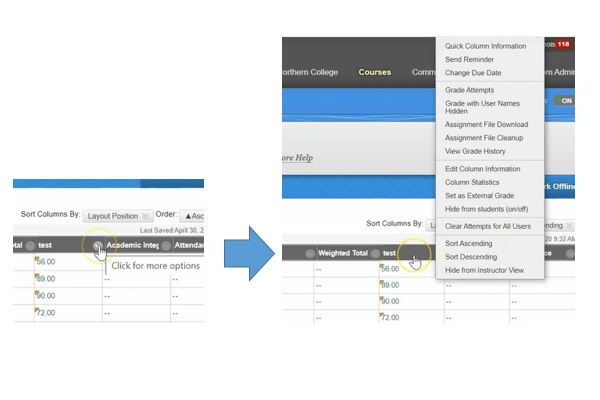 2. One of the most important options is to hide this column from students.
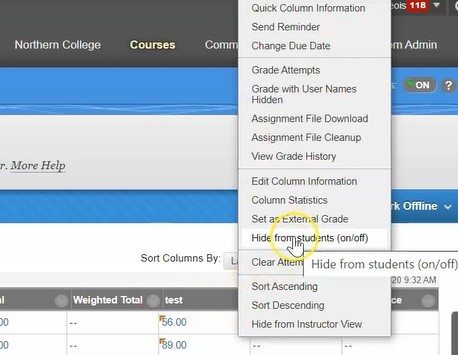 3. This column is now hidden from students as indicated by a black circle with a red line through it.
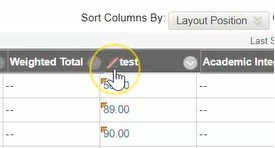
One of the reasons you may choose to do this, is so that you can grade all of your students tests or assignments before allowing the students to see their marks.
4. Other options are Quick Column Information.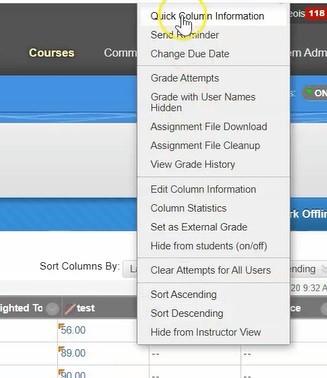 That just gives you a quick look at what this column is, what it’s used for, the primary display is a score, how many points were possible for this test, and if there was a due date.
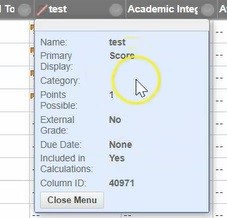
D. Edit Column Information
1. I can also choose to Edit the Column Information from right here in Grade Center.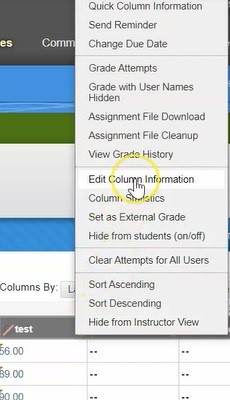 2. This allows me to change the column name and add a description.
 3. I can also set the primary display for this column.
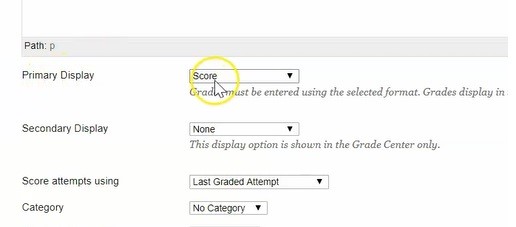 4. It’s currently set to a Score, but if I’d like it to show a Percentage I can choose Percentage.
 5. I can also indicate a secondary display so if my primary display is as a Percentage I would likely want my secondary display as a Score.
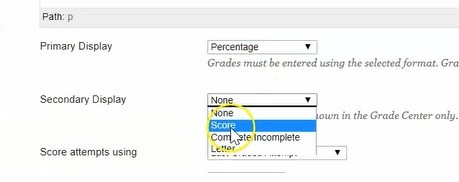 6. I also have the option to simply make this column a Complete or Incomplete if all I want to ensure is that my students have actually done the work.
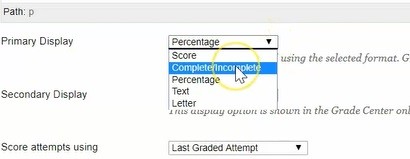 7. It shows how many points are possible for this test and this was set when you created the test within Blackboard.
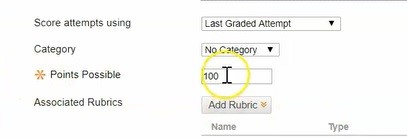 8. The rest of the options are set as you create assignment or test and can be modified here within the column.
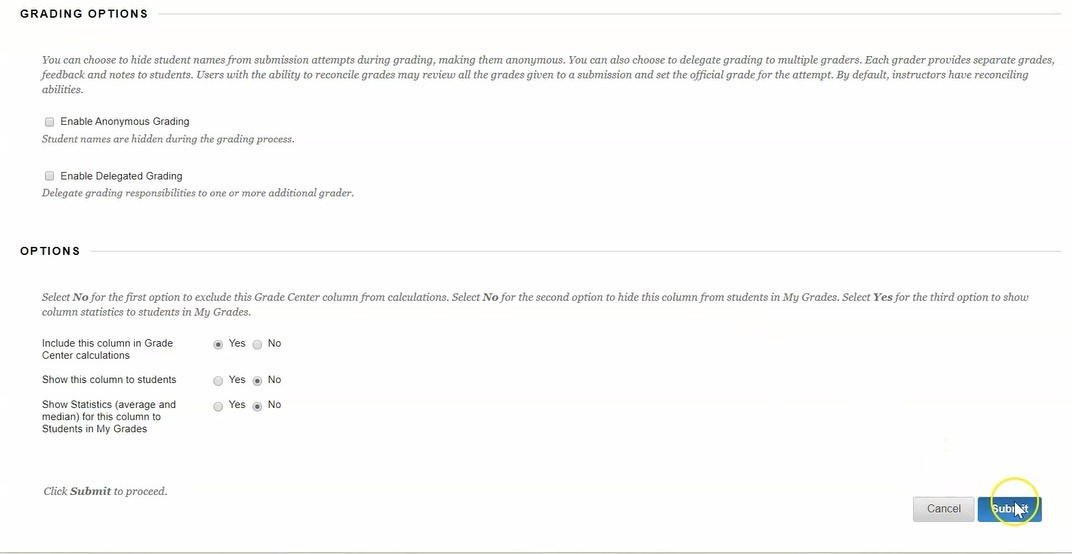 9. You’ll now see that my test column has been renamed to Test April 30th.
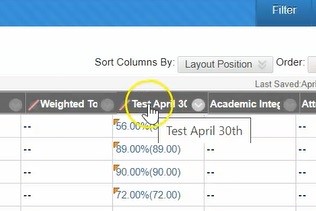 10. And my grades are now being displayed as a Percentage first and as a Score after.
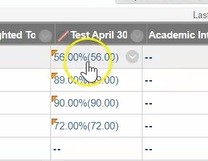
E. Modify Grade Center
If you received a course copy and your course contains a bunch of information, it is very likely that your Grade Center will hold a number of columns you may choose not to use. In order to modify and edit grade center, you have a couple of options.
1. You can choose to hide the column from instructor view, so it still exists in grade center, it’s just you don’t see it in this view.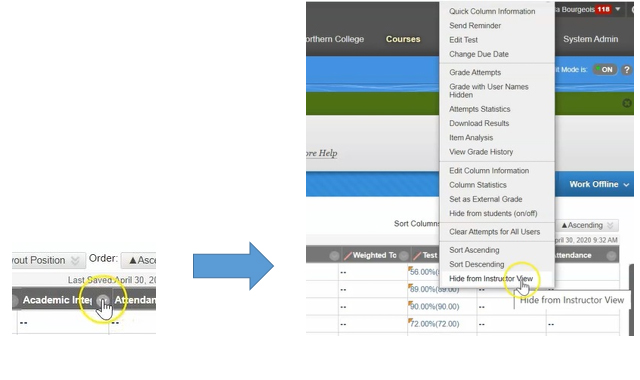 2. You can also choose to delete columns that are not attached to items within your course.
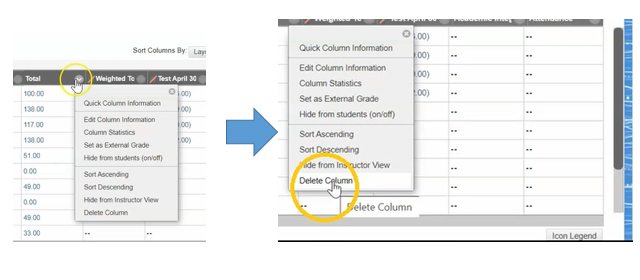
So for example this Total column, I have the option to delete it if I no longer need it and wish to see it in my grade center.
3. Just wants to confirm that I’m sure, and OK.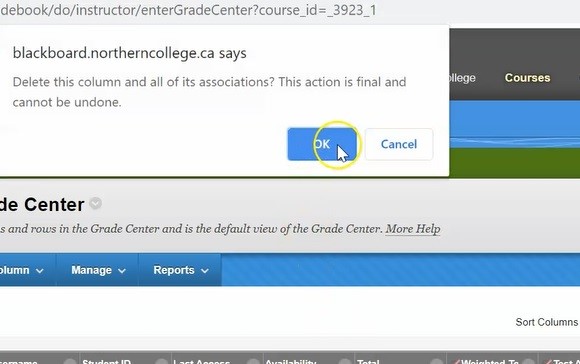 4. And now that Total column has been removed.
 You can delete any columns within your grade center as long as they are not attached to an active assignment or test… if they are, when you click the down arrow, you will not see Delete as an option in the list.
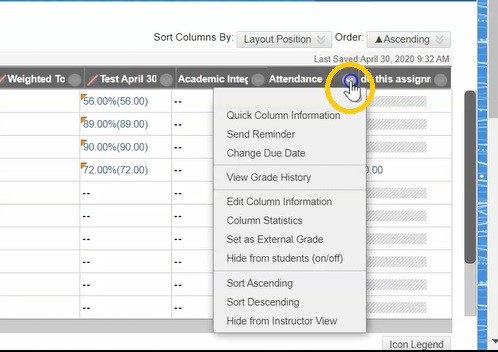
F. Grade Center Tool Bar
Just like when we are creating content within Blackboard, grade Center has a top tool bar that allows us to make changes.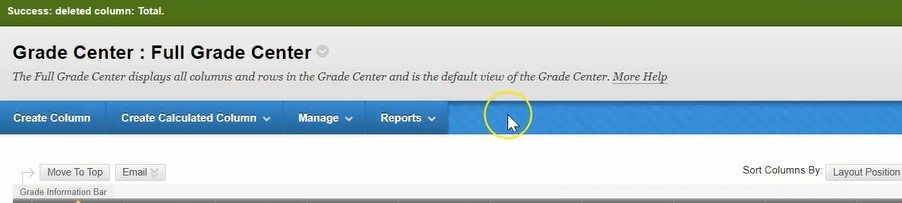 1. You are able to create a Column…
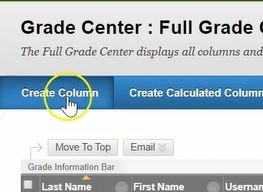 2. Create calculated columns such as an Average Column, Weighted column, or a Weighted Total column.
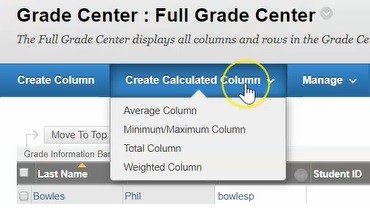 3. It also allows you to manage your columns. So if you would like to add things to a schema, if you would like to reorganize your columns in the order that they show, you would do that here.
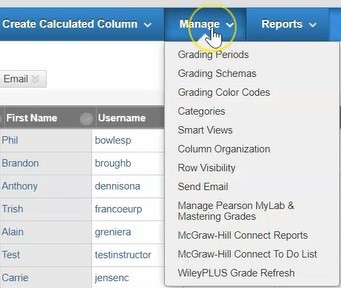 4. You can also download and create Reports from your Grade Center.
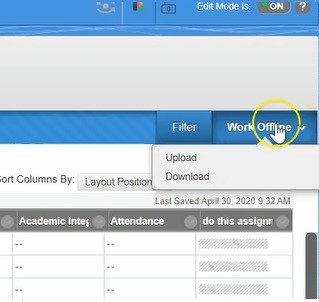
 5. And lastly, you can choose to Work Offline and Upload and Download your information off Grade center.